Hello Amigurumi Lovers…
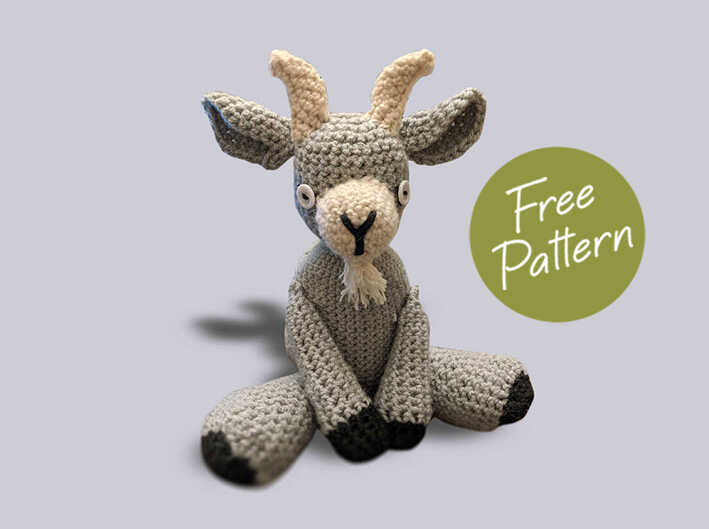
One of the free amigurumi crochet patterns we will share today is the Taylor the goat, whose photos and design belong to Jessica Woodard. You can learn how to crochet this goat using the free amigurumi pattern. Thanks to dear Jessica Woodard for this cute goat.

Materials:
2-3 colors of yarn (roughly a skein total)
5.5 mm hook
2 buttons
I don’t use any fancy stitches in this pattern. You will need to know:
1) How to make a magic ring. If you don’t already know, I recommend looking it up on YouTube. The visual’s really help.
2) Sc – single crochet
3) 2sc into a single stitch – sc like normal. Then insert your hook into the same stitch, and sc again.
4) Sc2tog – single crochet two together. Insert hook into first stitch, yarn over, and pull through. Insert hook into second stitch, yarn over, and pull through. Yarn over and pull through all three loops on the hook.
5) How to sew together two crocheted pieces (it’s easier with a yarn needle, but you can also manage it with the crochet hook)
That’s it! If you can do those things, you can make Taylor!
Body (grey yarn):
1) Into magic ring- 8sc
2) 2sc into each stitch around (16)
3) Sc into first stitch, then 2sc into second stitch repeat around (24)
4) Sc into first two stitches, then 2sc into third stitch repeat around (32)
5) Sc into first three stitches, then 2sc into fourth stitch repeat around (40)
6) Sc into each stitch around for rows 6-26 (40)
7) Sc into first three stitches, then sc2tog repeat around (32)
8) Sc into first two stitches, then sc2tog repeat around (24)
9) Sc into first stitch, then sc2tog repeat around (16)
10) Stuff the body. How tightly you fill it will be up to your preference, but you want to make sure there’s enough stuffing to hold shape, but not so much that you warp the body.
11) Sc2tog all the way around (8)
12) Sc2tog all the way around (4)
13) Tie off, and stitch together any holes.
Head (grey yarn)
1) Into magic ring- 6sc
2) 2sc into each stitch around (12)
3) Sc into first stitch, then 2sc into second stitch repeat around (18)
4) Sc into first two stitches, then 2sc into third stitch repeat around (24)
5) Sc into first three stitches, then 2sc into fourth stitch repeat around (30)
6) Sc into each stitch around for rows 6-14 (30)
7) Sc into first three stitches, then sc2tog repeat around (24)
8) Sc into first two stitches, then sc2tog repeat around (18)
9) Sc into first stitch, then sc2tog repeat around (12)
10) Stuff the head.
11) Sc2tog all the way around (6)
12) Tie off, you do not need to stitch closed.
Nose
(shown in cream yarn, may be done in head color if desired):
1) Into magic ring- 6sc
2) 2sc into each stitch around (12)
3) Sc into first stitch, then 2sc into second stitch repeat around (18)
4) Sc into each stitch around for rows 4 and 5
5) Sc into first 8 stitches, then 2sc into ninth stitch repeat (20)
6) Sc into each stitch around (20)
7) Tie off. You will stuff this lightly before attaching to the head.
Legs (make two)
(start in black, switch to grey where indicated):
1) Into magic ring- 6sc
2) 2sc into each stitch around (12)
3) Switch to grey yarn
4) 2sc into each stitch around (24)
5) For the following rows, you will dec. each row by one. The 6) pattern is 22sc then sc2tog, 21sc then sc2tog, 20sc then sc2tog, 19sc then sc2tog, 18sc then sc2tog, 17sc then sc2tog, 16sc then sc2tog, 15sc then sc2tog, 14sc then sc2tog
6) Sc in each stitch around for four rows (15)
8) Stuff leg. Make sure you get fiber all the way into the end, to pop the little hoof out.
9) Sc in first 3 stitches then sc2tog repeat around (12)
10) Sc2tog around (6)
11) Tie off, stitch closed flat.
