Skin color
R1 MR 6
R2 6inc (12)
R3 (Sc, inc) repeat 6 times (18)
R4 (2sc, inc) repeat 6 times (24)
R5 (3sc, inc) repeat 6 times (30)
R6 (4sc, inc) repeat 6 times (36)
R7 (5sc, inc) repeat 6 times (42)
R8-14 42sc (7 rounds)
-> Eyes between R11&12 (8sc apart)
R15 (5sc, dec) repeat 6 times (36)
R16 (4sc, dec) repeat 6 times (30)
R17 (3sc, dec) repeat 6 times (24)
R18 (2sc, dec) repeat 6 times (18) -> stuff
-> fasten off
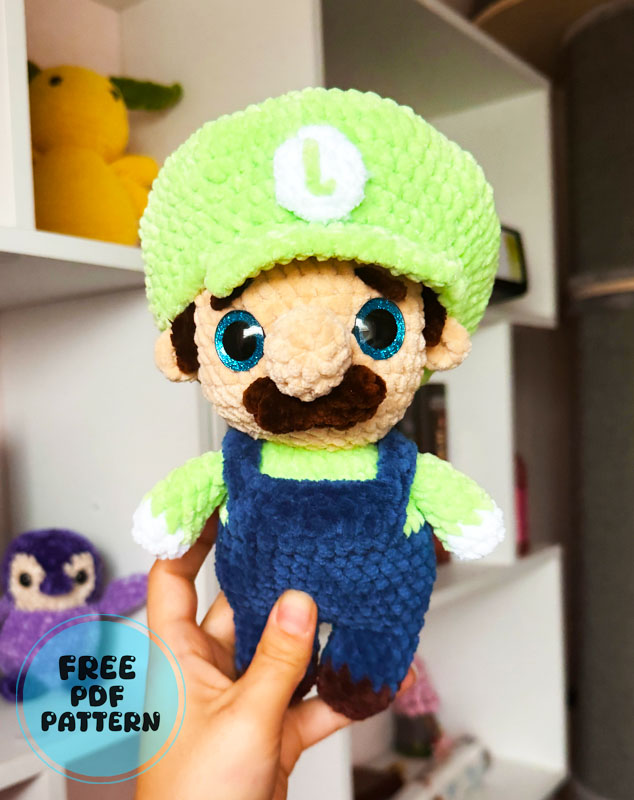
The head of the toy has a very detailed design and the most important parts that will make Luigi distinctive are here. After filling the inside of the head, let’s crochet the big and round nose of the toy and then sew it between the eyes.
Nose
Skin color
R1 MR 8
R2 (3sc, inc) repeat 2 times (10)
R3 10sc
R4 (3sc, dec) repeat 2 times (8)
-> sew on head between the eyes R10-12
Luigi has very tiny ears, and they are made only using the magic ring.
Ears 2x
Skin color
R1 MR 5
Slst in the hole and fasten off
-> sew on head, 5sc away from the eyes between R11-12
If you are making one of the Super Mario characters, you need to make a big mustache. Now let’s make the mustache of the toy in 2 rounds. Also, you need to use the double crochet technique when crocheting the mustache of the toy.
Mustache
Brown
R1 ch 6
R2 starting in 2nd chain from the hook: 2dc inc, slst, 2dc inc
-> sew below the nose
The toy’s hair may not be visible because it is under the hat, but if you follow the amigurumi instructions, it looks like it has a lot of hair. Let’s crochet this piece too.
