Designer: Purpiecraft
Instagram: @purpiecraft
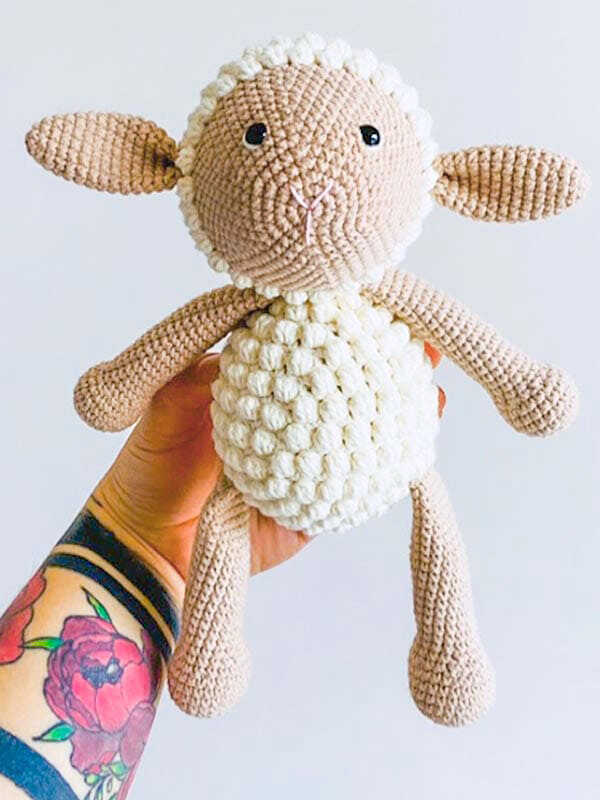
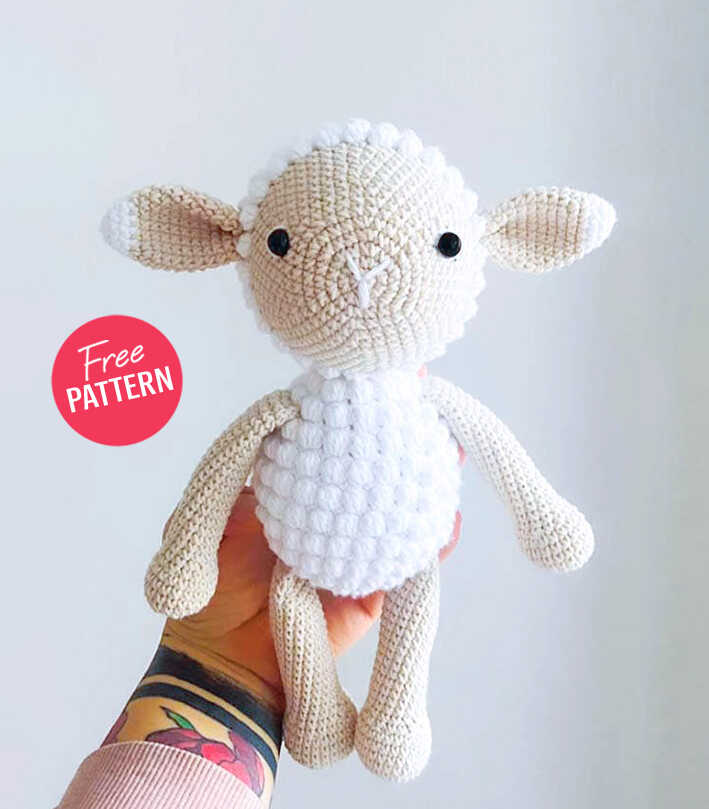
Tiny stitches, big cuteness — this pattern is sure to make you smile…
Adorable Crochet Lamb: Free Amigurumi Pattern Ideas by Purpiecraft iEs a heartwarming project perfect for adding a touch of softness and charm to your handmade collection. This sweet lamb design is an excellent choice for nursery decor, thoughtful baby gifts, or simply as a cuddly new friend for any amigurumi enthusiast. The pattern captures a gentle expression that makes it truly irresistible. Be sure to stay with us until the end of the post, where you will find a curated selection of more amigurumi sheep ideas to keep your crochet hooks busy. A special thank you to Purpiecraft for designing and sharing this lovely pattern with the community!
This step by step, beginner friendly guide is designed to be easy and enjoyable for crafters of all levels. To create your own lamb, you will need a suitable crochet hook, soft cotton or plush yarn, safety eyes, and premium fiberfill stuffing. Don’t forget to have your stitch markers, a darning needle, and scissors ready as you follow along with this delightful project. This pattern ensures a smooth crafting experience while producing a high-quality plushie you’ll be proud to display. Grab your yarn and start crafting your very own fluffy companion today. Happy crocheting!
Abbreviations
sc: Single crochet
inc: Increase
dec: Decrease
tr: Treble/Triple crochet
TRinc: Work 2 tr sts intothe same st.
dc: Double crochet
hdc: Half double crochet
sl-st: Slip stitch
ch: Chain
st/sts: stitch/stitches
FLO: Front loop only.
BLO: Back loop only.
BL: Bobble Stitch: (Yarn over insert your hook into the st and pull up a loop.Yarn over again and pull through 2 loops) repeat the steps in the same st until you have a total of 5 loops on your hook.Yarn over and pull through all 5 loops at once.
Reverse single crochet: Ch 1, working from left to right, insert your hook into the next st,turn hook to the left side, grab yarn and pull through. There are now 2 loops on your hook. Draw up a loop, bring yarn over the hook again and draw this loop through both loops.
(…)- x times: Repeat the instructions between parantheses x times.
(…): Reprensents the number of sts you should have at the end of the round.