(grey)
Rnd 1-3: repeat pattern for lower wings.
Rnd 4: sc in next st, inc in next st, (sc in next 2 st, inc in next st) x 5, sc in next st (24)
Rnd 5: (sc in next 3 st, inc in next st) x 2, sc in next 3 st, 2 hd in next st, (dc, tr) in next st, tr in next st, (tr, dc) in next st, 2 hd in next st, (sc in next 3 st, inc in next st) x 2 (32)
Rnd 6: sc in next 2 st, inc in next st, (sc in next 4 st, inc in next st) x 2, hd in next 2 st, dc in next st, (hd, dc) in next st, 2 tr in next st, (dc, hd) in next st, dc in next st, hd in next 2 st, (inc in next st, sc in next 4 st) x 2 (40)
(light lilac)
Rnd 7: slst in all 40 st (40)
Fasten off and leave a long tail for sewing. Make two upper wings.
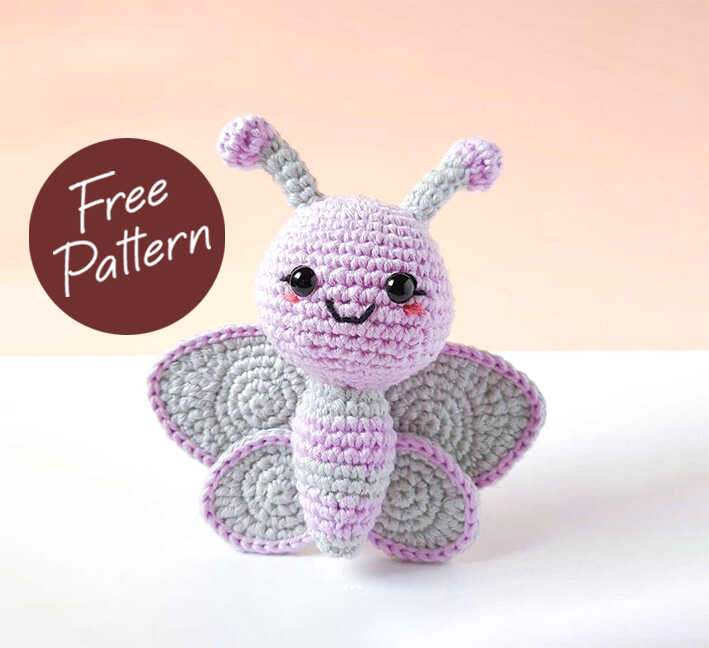
Sew the wings to the back of the body, first the lower wings between rounds 25 and 30, pointing slightly downwards, and then the upper wings between rounds 20 and 24, pointing slightly upwards. Make sure that the upper and lower wings overlap, and that they’re directly opposite to the face.
Antennas
(light lilac)
Rnd 1: start 6 sc in a magic ring (6)
Rnd 2: inc in all 6 st (12)
Rnd 3: sc in all 12 st (12)
Rnd 4: dec x 6 (6)
(grey)
Rnd 5-9: sc all 6 st (6)
Fasten off and leave a long tail for sewing. Make two antennas.
Sew each antenna to the top of the head, over rounds 4 and 5. Make sure they are aligned with the face. The antennas don’t need to be stuffed.
Congratulations, you have completed the amigurumi Ellie the butterfly pattern.
