Designer: Ana Veiga
Instagram: @faerie_stitches
Hello Amigurumi Lovers…
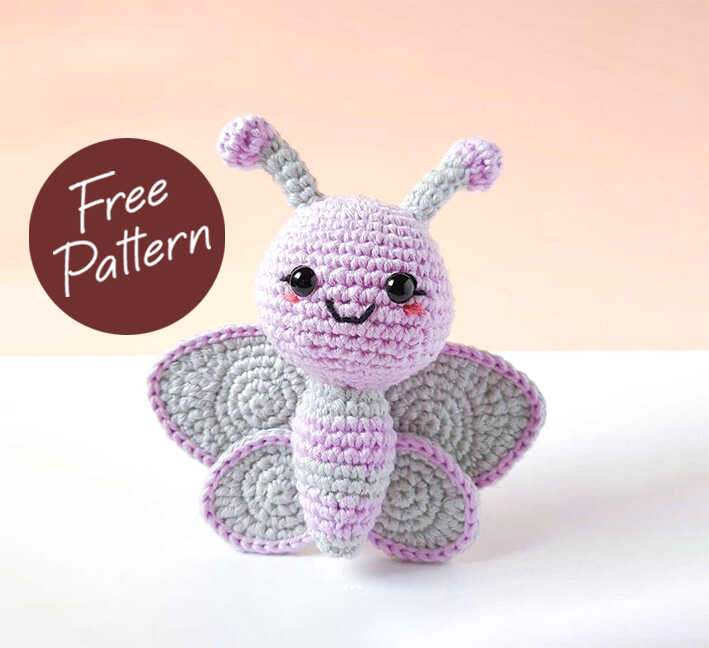
One of the free amigurumi crochet patterns we will share today is the butterfly, whose photos and design belong to Ana Veiga. You can learn how to crochet these butterfly using the free amigurumi pattern. Thanks to dear Ana Veiga for this cute butterfly.

Materials
Worsted Yarn (I used Drops you #8 in light lilac and grey, as well as old pink for the embroidery). One ball of each color should be enough.
Crochet hook (I used 2.5mm).
Stuffing
Black embroidery thread
Embroidery/tapestry needle
Stitch markers
Note about color changes
When the pattern indicates a color change, it’s important to remember that the yarn change starts one stitch earlier: in the stitch before the color change, insert hook, yarn over and pull loop through stitch using the old color; then yarn over in the new color and pull loop through both loops on hook. The yarn of the color you aren’t using is carried from behind. Color changes are indicated by the new color inside parentheses ().
Abbreviations
AR – Amigurumi Magic ring
MR – Amigurumi Magic ring
App – application
ll – lift loop
sc : Single Crochet
inc : Increase
dec : Decrease
tr : Triple Crochet/ Treble Crochet
st: Stitch
dc : Double Crochet
hdc: Half Double Crochet
sl-st : Slip Stitch
ch : Chain
..in : make increase into same stitch as many as the number which is given in front of “inc” abbreviation (exp; 3inc, 4inc..).
FLO : Crochet into front loops only
BLO : Crochet into back loops only
BL : Bobble Stitch – do 5dc all in the same stitch and then yarn over and pull through all the loops on your hook (the original loop + 1 loop for each partially completed dc).
*If made with the described materials, the toy will be about 13cm / 5.1 inches tall, from the tip of the antennas to the bottom.

Head and Body
(light lilac)
Rnd 1: start 6 sc in a magic ring (6)
Rnd 2: inc in all 6 st (12)
Rnd 3: (sc in next st, inc in next st) x 6 (18)
Rnd 4: sc in next st, inc in next st, (sc in next 2 st,
inc in next st) x 5, sc in next st (24)
Rnd 5: (sc in next 3 st, inc in next st) x 6 (30)
Rnd 6: sc in all 30 st (30)
Rnd 7: sc in next 2 st, inc in next st, (sc in next 4
st, inc in next st) x 5, sc in next 2 st (36)
Rnd 8-9: sc in all 36 st (36)
Rnd 10: (sc in next 5 st, inc in next st) x 6 (42)
Rnd 11: (sc in next 13 st, inc in next st) x 3 (45)
Rnd 12: sc in all 45 st (45)
Rnd 13: (sc in next 13 st, dec) x 3 (42)
Rnd 14: (sc in next 5 st, dec) x 6 (36)
Rnd 15: sc in all 36 st (36)
Rnd 16: sc in next 2 st, dec, (sc in next 4 st, dec) x
5, sc in next 2 st (30)
Rnd 17: (sc in next 3 st, dec) x 6 (24)
Rnd 18: sc in next st, dec, (sc in next 2 st, dec) x 5, sc in next st (18)
Insert the safety eyes between rounds 10 and 11, about 6 stitches apart. Embroider the face details:
1. Embroider the lashes.
Pull the embroidery thread to the front and to the back of the fabric in the indicated places, and guide it to the proper shape by placing a pin in the corner of the eye. Secure the thread to the place where the pin is, by coming out and going back into the same stitch with the thread tail.
