1 row: we collect a chain of 5 air loops (hereinafter – ch). Next, we begin to tie the chain, starting with the second from the loop hook. 1 increase, 2 single crochet (hereinafter – sc), 2 increments in one loop at the end of the chain. Then we knit on the other side of the chain:
2 sc, 1 increase (12).
2 row: repeat (1 increase, 1 sc) 6 times (18).
3 row: repeat (1 increase, 2 sc) 6 times (24).
4-5 rows: we knit 1 sc in each loop of the previous row (24).
6 row: we knit 1 sc to align the knitting, then we knit 3 sc, 6 increments, 15 sc (30).
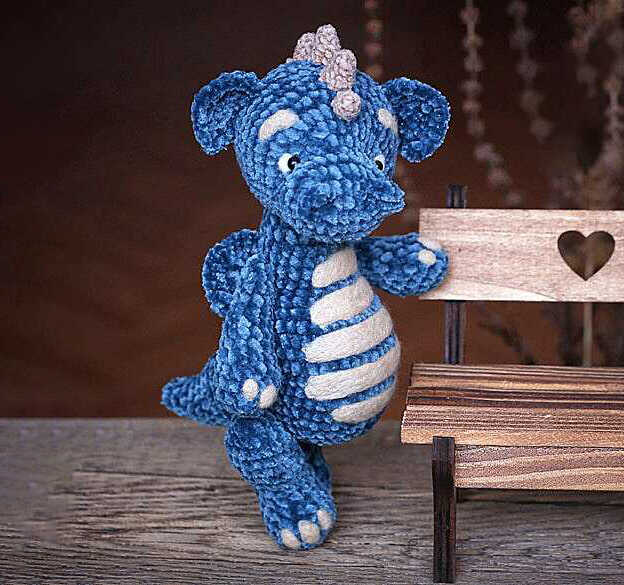
The location of the increase on the dragon’s face is shown in the photo.
7 row: 3 sc, (1 increase, 1 sc) – repeat 6 times, 15 sc (36).
8 row: (5 sc, 1 increase) – repeat 6 times (42).
9 row: (6 sc, 1 increase) – 6 times (48).
10-14 rows: we knit 1 sc in each loop of the previous row (48).
15 row: repeat (6 sc, decrease) 6 times (42).
16 row: repeat (5 sc, decrease) 6 times (36).
17 row: repeat (4 sc, decrease) 6 times (30).
We fill the dragon’s head with filler in the area of the muzzle. We fix the cotter pin between 12 and 13 rows.
18 row: repeat (3 sc, decrease) 6 times (24).
19 row: repeat (2 sc, decrease) 6 times (18).
We stuff the connected part of the dragon’s head.
20 row: repeat (1 sc, decrease) 6 times (12).
21 row: decrease until the hole is completely closed.
Knitting the nostrils for the dragon (2 parts).
We type 4 ch and, starting from the second loop from the hook, we knit 3 sc on one side of the chain.
Muzzle
After we have tied the head and nostrils for the dragon, we can proceed to the design of the muzzle of the toy. To begin, let’s choose the position of the eye. This is a very important point when creating a toy. I will use 5 mm diameter sewing eyes with an eyelet. The shape of these eyes resemble mushrooms.
Along with sewing the eye, we will make the muzzle tightening.
Choosing the position of the eye with the needles, it is better to place them a little further apart, since when pulling together they will slightly change the position, become closer.
We fix the thread in the cotter pin area and put the needle in the place where the eye will be located. It is better for this purpose to use a long needle for sewing soft toys.
We put the eye on the needle, then again insert the needle into the head and bring it to the area of attachment of the second eye.
We put our eyes on the needle and pierce the head of the toy again, returning to the first eye. We are tightening. Repeat this operation several times.
Arms
1st row: dial 2 ch and knit 6 sc into the second loop from the hook (6).
2 row: repeat (1 increase) 6 times (12).
3 row: repeat (3 sc, 1 increase) 3 times (15).
4-5 rows: we knit 1 sc in each loop of the previous row (15).
6 row: 3 decreases, 9 sc (12).
7-8 rows: we knit 1 sc in each loop of the previous row (12).
9 row: 1 sc, 2 decreases, 7 sc (10).
10-11 rows: we knit 1 sc in each loop of the previous row (10).
After knitting 11 rows, we fill the lower part of the dragon’s paw. We will not stuff the upper part of the foot.
12 row: we knit 1 sc in each loop of the previous row (10).
We fix the cotter pin between 11 and 12 rows. Note that where we knitted the decreases – this is the front of the knitted dragon’s paw.
13 row: we knit decreases until the hole is completely closed.

I love dragons ! Thank you for sharing your work