You will need 2 pieces of strong thread.
Make the tightening as tight as possible. Try to grab as much stuffing as you can.
Take the first piece of thread and insert it at point 1 (1st row of the head, parallel to the edge of the eye), bring it out at point 2 (5th row of the head, as close as possible to the edge of the eye), insert the thread at point 3 (5th row of the head, as close as possible to the edge of the eye), bring it out at point 4 (1st row of the head, parallel to the edge of the eye, in the neighboring stitch with point 1). Tighten it, tie several knots, and hide the thread inside the head.
Tighten the second eye in the same way, but follow the points 5-6-7-8.

Decoration:
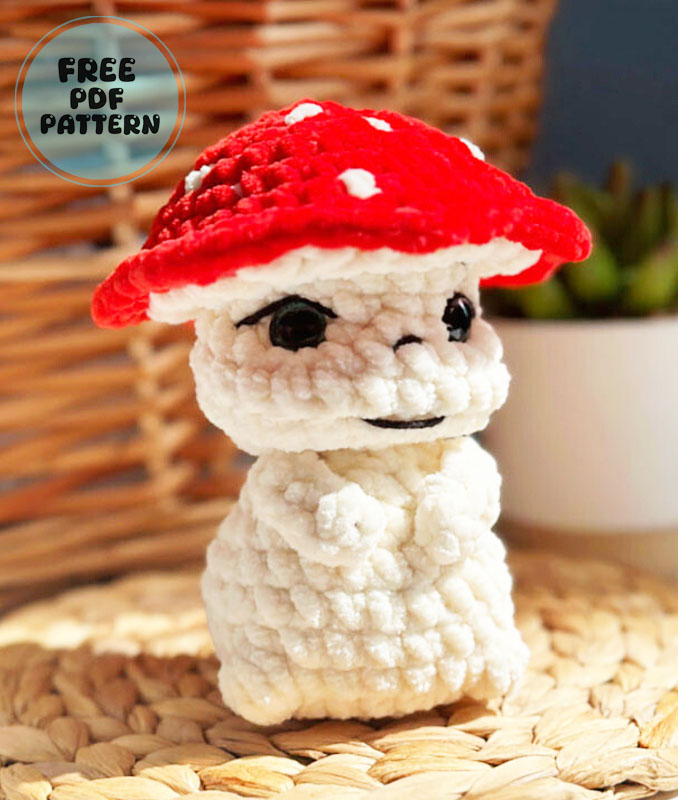
Embroider the eyelids, eyebrows, mouth, and nose with black thread as shown in the photo.
Congratulations! Your mushroom is ready!
Thank you for crocheting with me!
