If you need any help, see the pictures below. There are also a few videos on IGTV (Instagram). As I said, they are all in Portuguese, but they are pretty visual, so I believe language will not be a problem. On these videos I show how to embroider the eyes, how to braid the hair, how to do the makeup and how to glue the details.
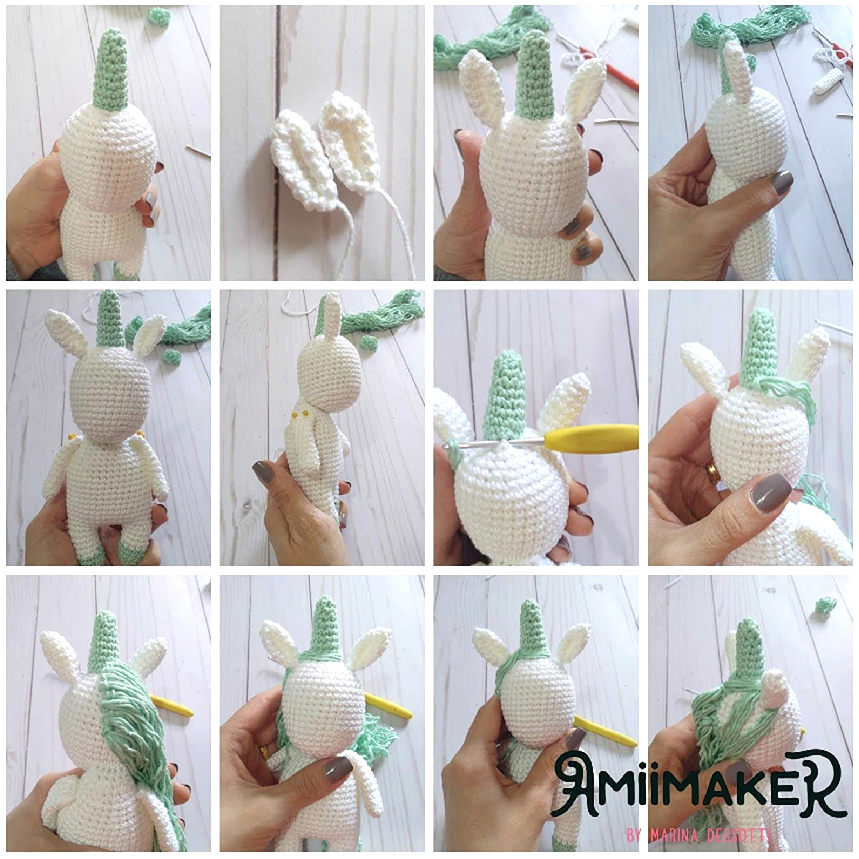
1. Sew the horn in the top of the head.
2. Fold the base of the ear and sew it on round 5 of the head (counting from top to bottom) lining it with the horn.
3. Sew the arms between rounds 26 and 27 of the body.
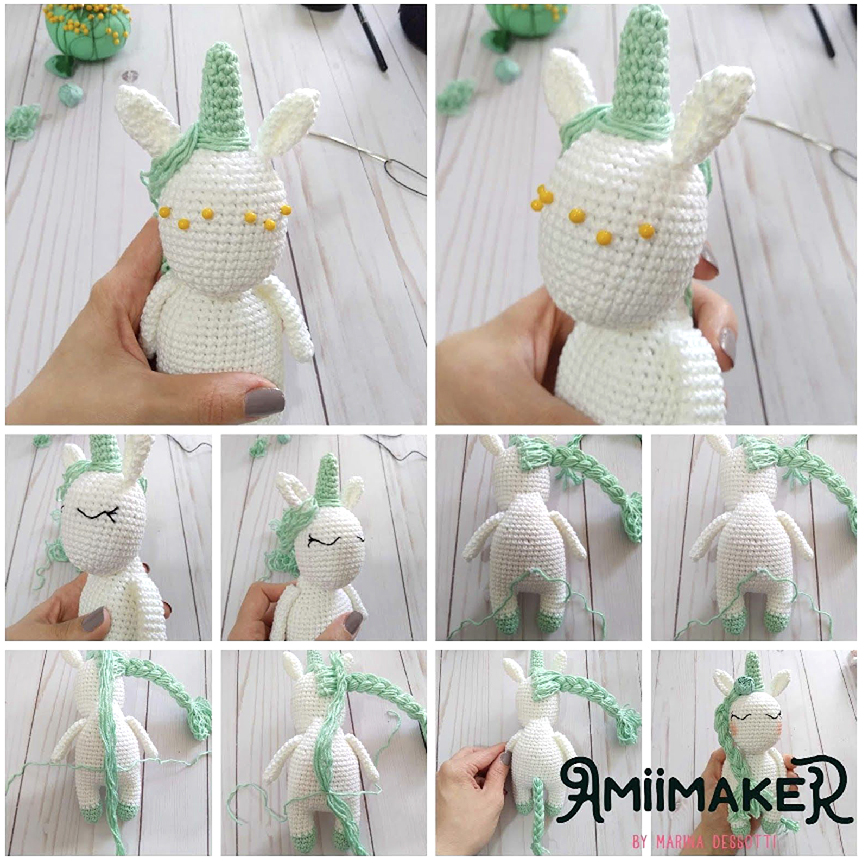
4. For the mane: cut 27 pieces of yarn of 21 inches each (52 cm) in color 2. Using your hook, attach 3 pieces of yarn at each time, beginning in the top of the head, just below the horn, creating 9 groups of mane (see pictures below). Braid the mane passing the first group in front of the horn and the next two groups in front of the ear. Tie the braid. Trim it to even the ends.
5. For the tail: cut 9 pieces of yarn of 14 inches each (34 cm) in color 2. Attach one of these pieces of yarn in the back of the body between rounds 16 and 17. Put the other pieces of yarn in the opposite position, creating a cross (see pictures below). Using the piece you attached in the body, tie the other pieces together very firmly. Make the braid and tie it.Trim its ends.
6. Using embroidery yarn, embroider the eyes between rounds 12 and 13 of the head (counting from bottom to top). Leave a 3 stitches distance between them.
7. Makeup the cheeks just below the eyes.
8. Using hot glue (or any other fabric friendly glue), attach the braid to the belly of the unicorn and the flower to the head.
*for children under 3 years old, sew the details instead of gluing them. And don’t use small pieces.
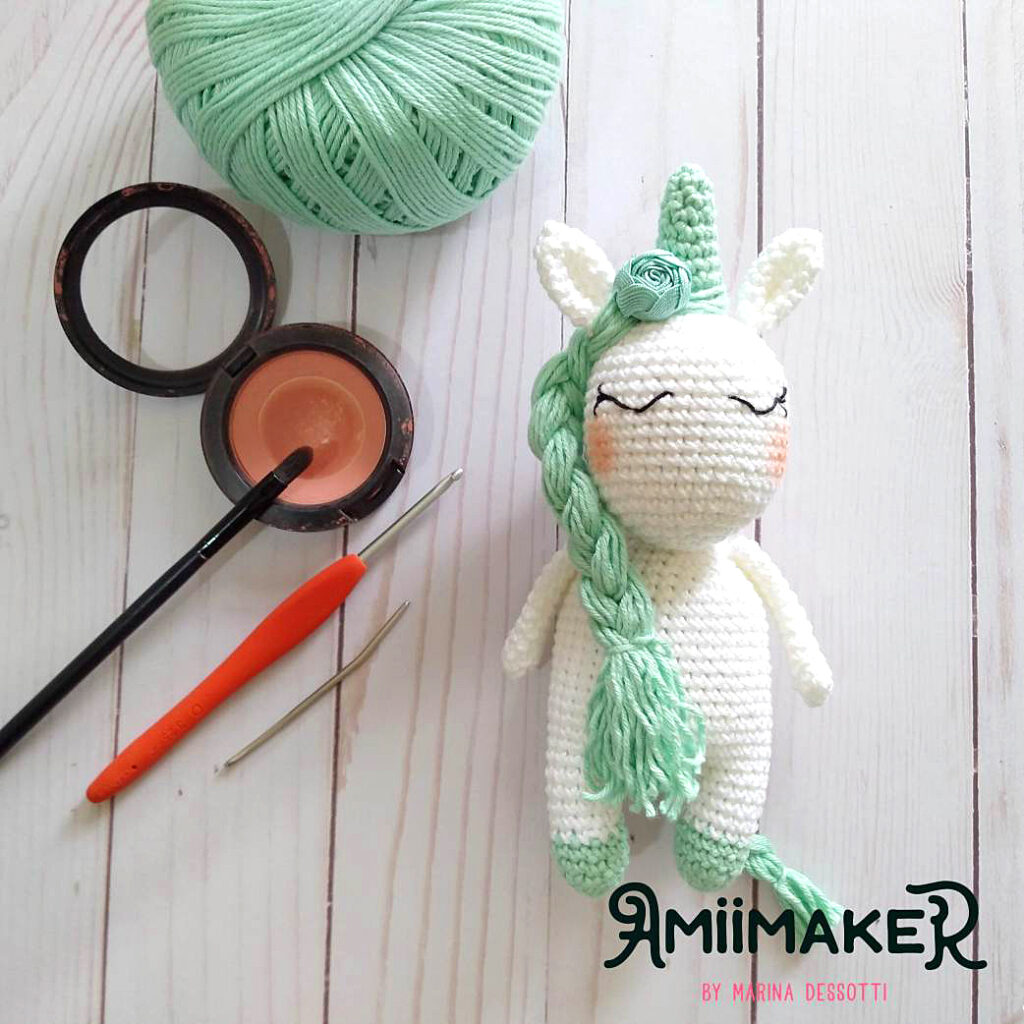
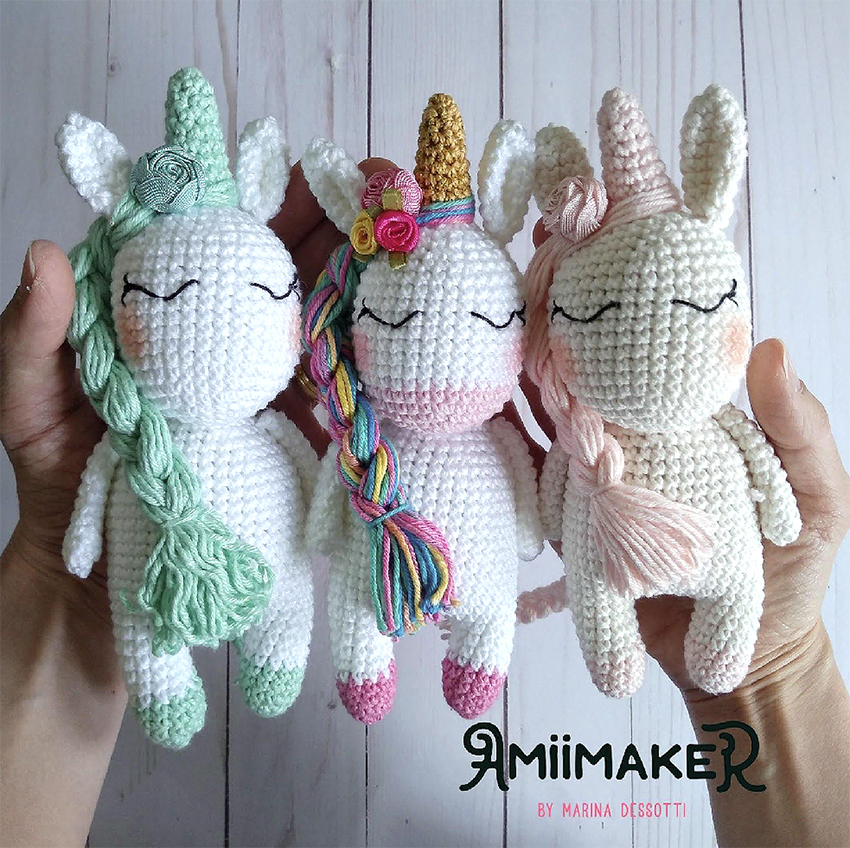
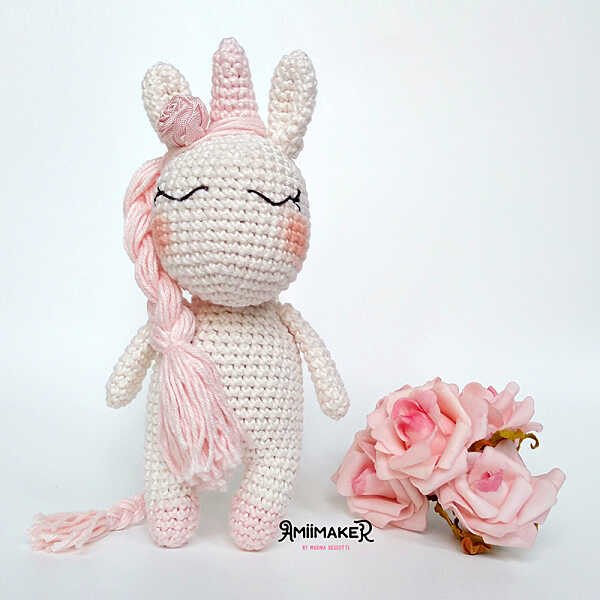
Unicorn is ready!
