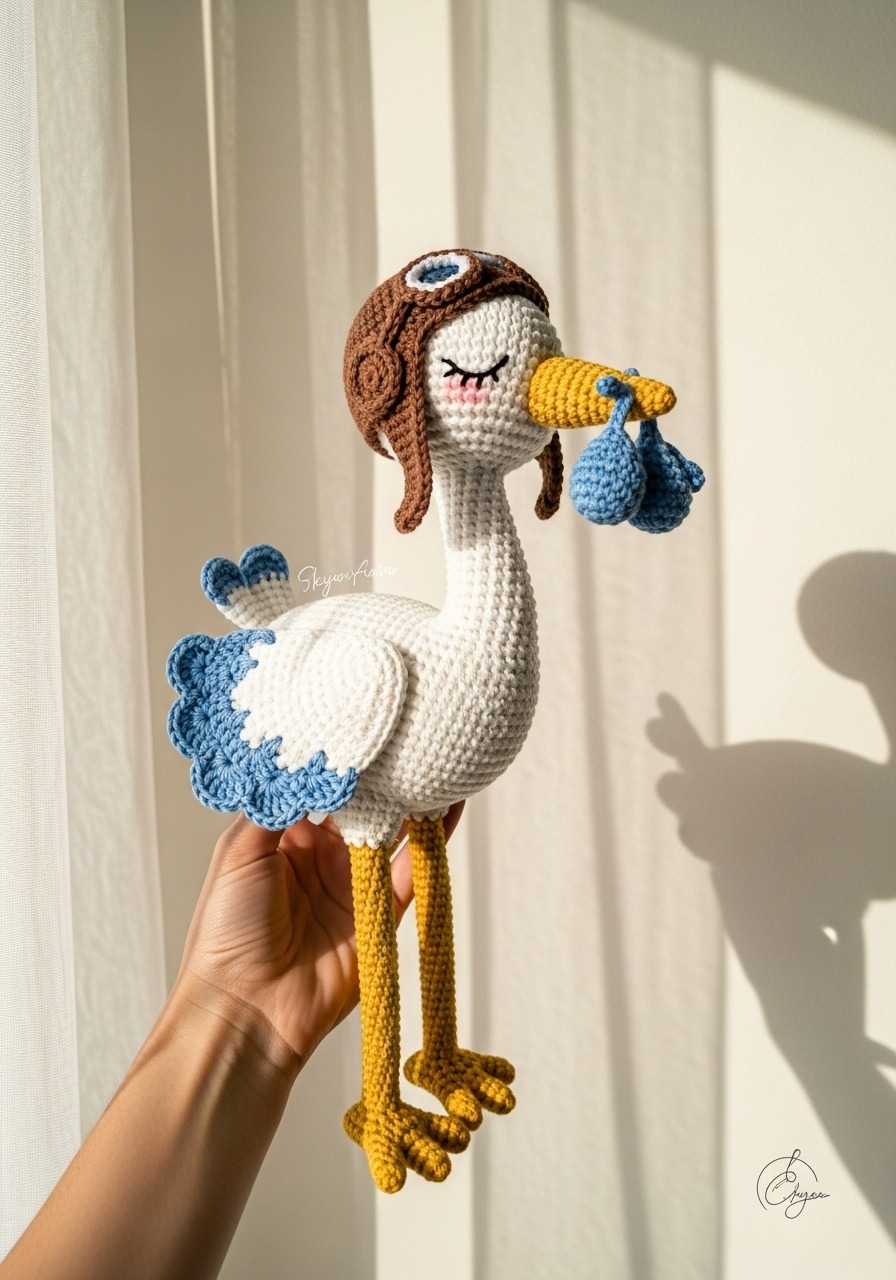
Now comes the moment where Skye truly takes flight. Take your time with pinning before sewing.
- Legs: Sew the legs to the bottom of the body, spaced about 4 stitches apart. If you want him to stand, ensure the feet are flat on the surface before securing.
- Wings: Attach the wings to the sides of the body, slightly angled downwards as if resting.
- Face: Using black thread, embroider two “U” shapes for sleeping eyes on Rnds 14-15. They should be wide-set for that “Gaze of Innocence.” Add pink blush with makeup or yarn under the eyes.
- Accessories: Place the cap on the head (you can sew it down or leave it removable). Hang the bundle from his beak using a chain of stitches.
💡 Tips & Frequently Asked Questions
Q: My stork’s neck is floppy. How do I fix this?
A: The neck is a delicate point. Ensure you stuff the neck very firmly. For a display piece, you can insert a wooden dowel or a rolled tube of craft felt into the neck for added stability.
Q: Can I use chunky yarn for this?
A: Absolutely! Using blanket yarn and a 5mm hook will turn Skye into a giant, huggable plushie—approx. 50cm tall! Just remember to use safety eyes suitable for the larger size.
💌 A Final Word
There you have it—Skye is ready for his journey. I hope this pattern brings a touch of whimsy to your atelier. May your stitches be even and your deliveries be full of joy.
