Continuing in Cloud White, we expand from the neck to create a pear-shaped chest.
- Rnd 36: (sc 2, inc) x 6. (24)
- Rnd 37: (sc 3, inc) x 6. (30)
- Rnd 38: (sc 4, inc) x 6. (36)
- Rnd 39: (sc 5, inc) x 6. (42)
- Rnd 40-48: sc in each st around. (42)
- Rnd 49: (sc 6, inc) x 6. (48)
- Rnd 50-54: sc in each st around. (48)
- Rnd 55: (sc 6, dec) x 6. (42)
- Rnd 56: (sc 5, dec) x 6. (36)
- Rnd 57: (sc 4, dec) x 6. (30)
- Rnd 58: (sc 3, dec) x 6. (24)
- Rnd 59: (sc 2, dec) x 6. (18)
- Rnd 60: (sc 1, dec) x 6. (12)
- Rnd 61: dec x 6. (6)
Fasten off and weave in the end. Ensure the body is stuffed firmly, especially the neck area, to prevent the head from wobbling.
Part 3: The Wings (Make 2)
Use Sky Blue. We will make flat pieces and fold them slightly during assembly.
- Rnd 1: 6 sc in a magic ring. (6)
- Rnd 2: inc x 6. (12)
- Rnd 3: (sc 1, inc) x 6. (18)
- Rnd 4: (sc 2, inc) x 6. (24)
- Rnd 5: (sc 3, inc) x 6. (30)
- Rnd 6-8: sc in each st around. (30)
- Rnd 9: Fold the piece flat and crochet through both sides to close: sc 14 across. Turn.
- Row 10 (Scalloped Edge): *Skip 1 st, 5 dc in next st, skip 1 st, sl st in next*. Repeat 3 times across the wing edge to create feathers.
Fasten off, leaving a long tail for sewing.
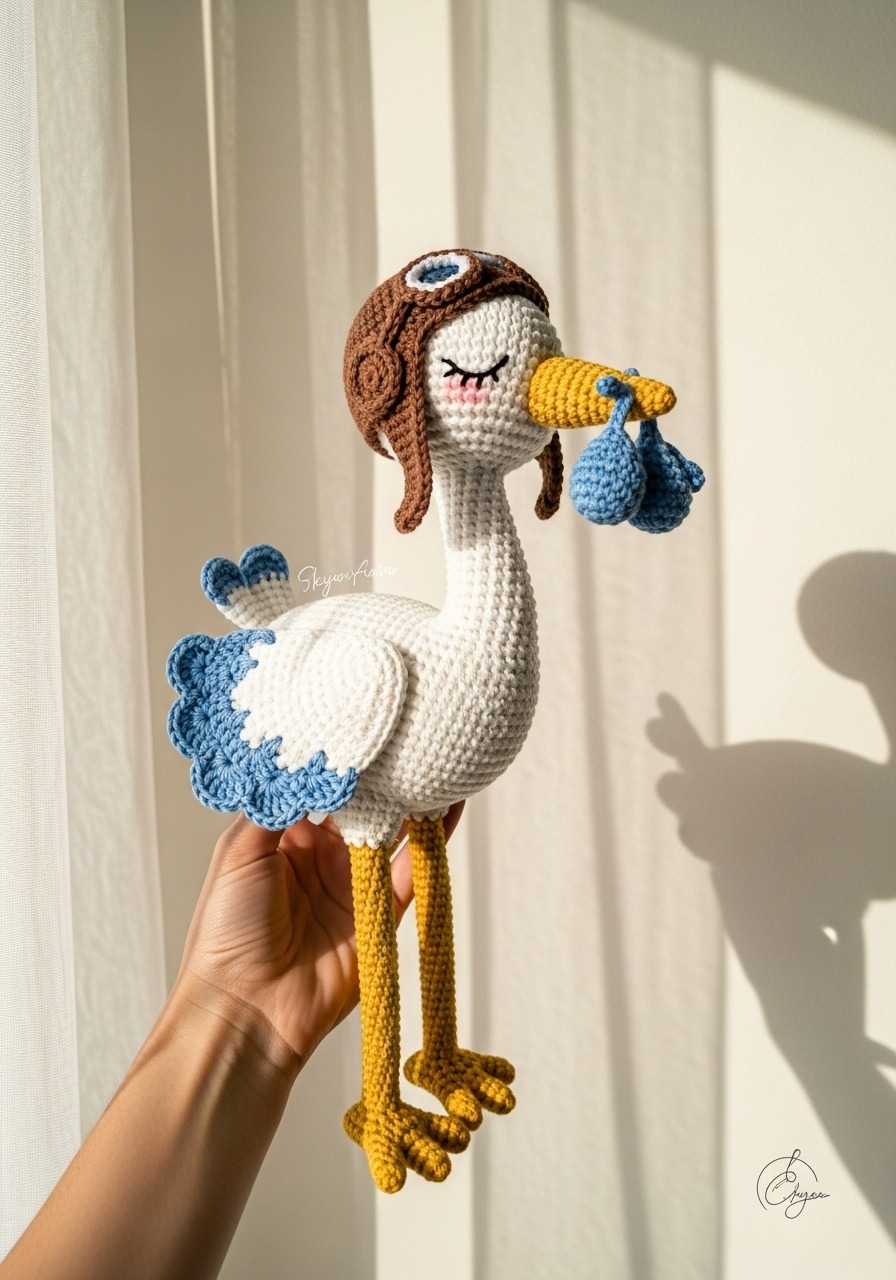
[Image Placeholder: A close-up of the wing showing the scalloped shell stitch detail]
