1. Connect the body and head. Make sure the back is curved and the toy is full tight enough so that the head does not swing.
2. Sew on the legs using the button fastening. Attach a thread of color feet a button to the outer side of the right leg, bring the ends of the thread through the body to the outer side of the left foot. Attach the button, return to the right leg. Repeat 2 times.
Withdraw the thread somewhere behind, tie a knot, hide the thread inside the body.
4. Attach the hands in the same way, only the buttons inside. When sewing step back a row from the junction of the head and body, for free movement of the hands. Sew up holes in the hands
5. Attach the thumb. Cut the wire, bend the end. Bent end insert into your finger, the other into your palm. Sew a finger.
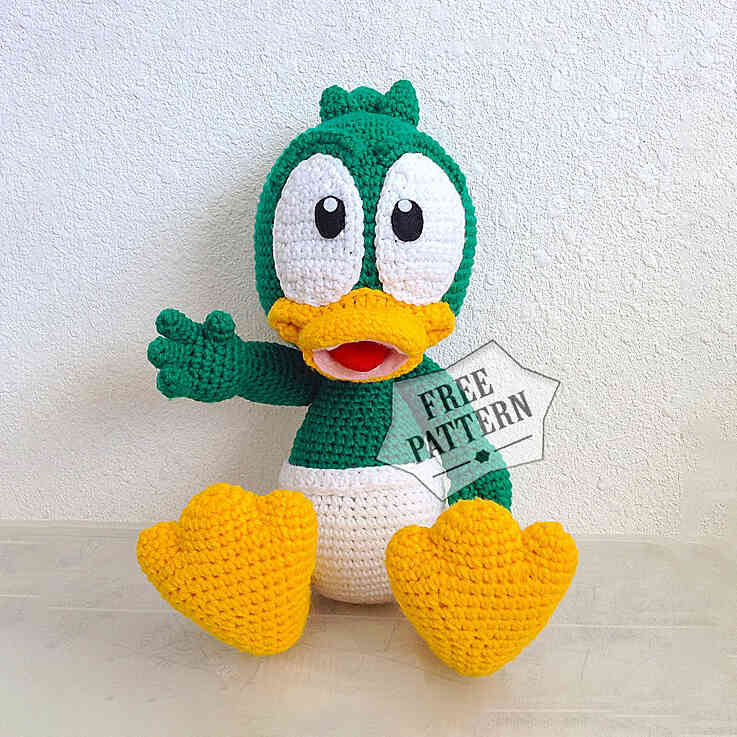
6. Attach the mouth. The upper part of the middle of the mouth is 21 rows from the crown. Side – on the 23rd row. The lower part is on the 3rd row from the junction of the head and body.
7. Attach the eyes and eyebrows. Top of eyes – 10 row from the crown. Eyebrows: Outside – 14th row, inner – 11 row.
8. Attach the hair in the middle of the crown.
9. Sew on the top of the diaper. Make sure it covers 1 white and 1 green row.
