Dark gray thread:
R1: 6sc into mc (6)
R2: inc * 6 (12)
R3: sc (12)
R4: (5sc, inc) * 2 (14)
R5-64: sc (14)
R65: (5sc, dec) * 2 (12)
R66: dec * 6 (6)
Fasten the thread, cut it off.
To make the wings flat, ask around with a dark gray thread at a distance of 1sc from
edges. (see photo) .Sew wings on both sides of the machine body at a distance of 2sc from wheels.
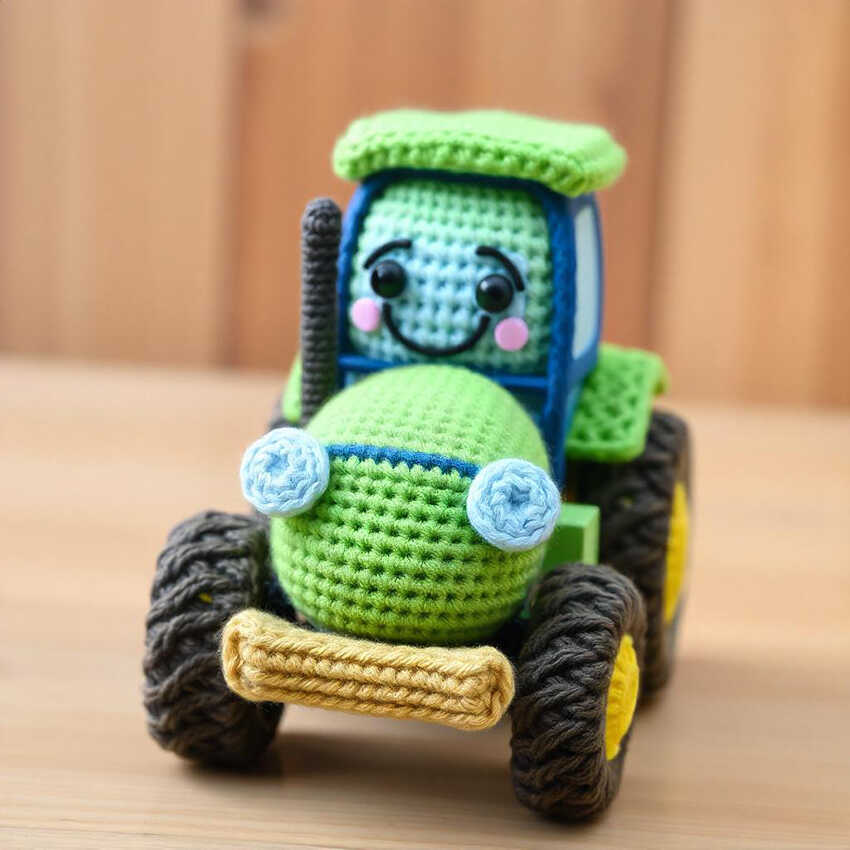
Headlight (make two)
It consists of two parts: the front part is white and the back is ruby red.
Front end (white thread):
R1: 6sc into mc (6)
R2: inc * 6 (12)
R3: white: (sc, inc) * 3, change the thread to sky blue and continue: (sc, inc) * 3 (18)
R4-9: sc white thread and 9sc sky blue (18)
Fasten, cut the thread.
Back (ruby red thread):
R1: 6sc into mc (6)
R2: inc * 6 (12)
R3 (sc, inc) * 6 (18)
R4-7: sc (18)
Connect both parts with 2 rows of sc with ruby red thread.
knit. Sew the headlights to the front of the machine, embroider details sky blue thread (see photo).
Horn
Dark gray:
R1: 5sc into mc (5)
R2: inc * 5 (10)
R3: (sc, inc) * 5 (15)
R4: sc (15)
R5: (sc, dec) * 5 (10)
R6: (3sc, dec) * 2 (8)
Change color to tan:
R7-10: sc (8)
R11: inc * 8 (16)
R12-13: sc (16)
Fasten, cut the thread. Fill with filler only until the 6th row and with a needle close the hole at the level of the 6th row (so that the filler remains inside).
Horn at half height of the front left side frame.
