(make 2 in green)
1. Work 5 SC in a magic circle (5)
2. Inc x 5 (10)
3. SC all around for rows 3 – 11 (10)
12. Hold flat and crochet together before stitching on body
Don’t have to stuff the arms unless you want a more puffy look. I didn’t stuff mine.
Coat (Ch1 and turn at the end of each row unless marked by *. Start with brown)
1. Ch48 (48)
2. SC on 2nd stitch and SC throughout (47)
3. SC x 47 for rows 3 – 8 (47)
9. (Dec, SC in next 6) x 5, (Dec, SC in next 5) (41)
10. SC all around for rows 10 – 15 (41)
16. (Dec, SC in next 7) x 4, (Dec, SC in next 3) (36)
17. SC all around for rows 17 – 18 (36)
19. SC in next 5, Ch 7, skip next 7 stitches, SC in next 9, Ch 7, skip next 7 stitches, SC in next 8 (36)
Change colour to beige
20. *Ch2 turn, HDC in next 8, SC in next 7, HDC in next 9, SC in next 7, HDC in next 5 (36)
21. HDC all around (36)
22. *Ch2, DC in next 7, HDC in next 8, SC in next 9, HDC in next 7, DC in next 5 (36)
23. HDC all around for rows 23 – 25 (36) and fasten off
Finally finished to arms of baby yoda.
Sleeves
1. SC directly on arm hole (16)
2. SC all around for Rows 2 – 6 (16)
Change colour to beige
7. SC all around (16)
8. HDC all around (16) and fasten off
You may want to sew a press-stud or button just under the collar to keep the coat shut.
If using the same pattern for this size, I’d suggest using a 4ply yarn.
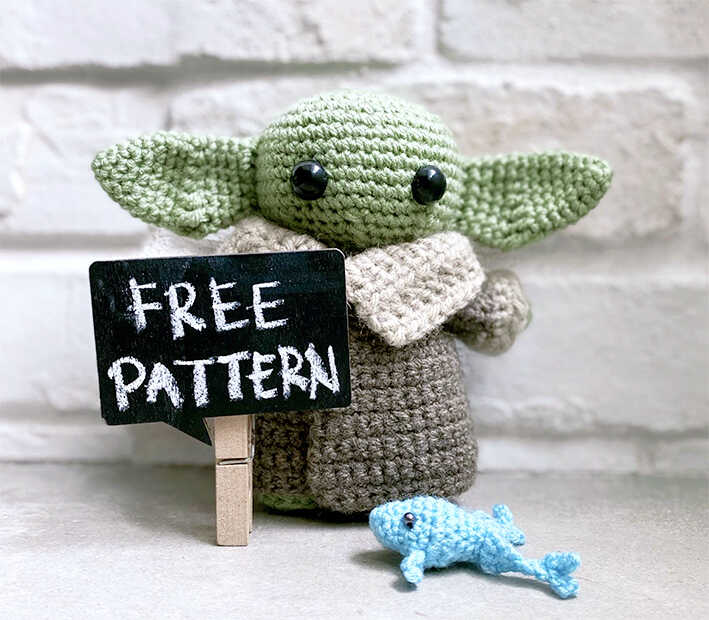
Baby Yoda Amigurumi is reardy!
