Amigurumi Airplane Crochet Free Pattern
Rnd 4. 6sc, inc, 5sc, then crochet the last stitch of this round together with the first stitch of the 5th round (decrease into FLO of stitches) and place marker (13)
Rnd 5. 5sc, inc, 7sc (14)
Cut the thread, leaving a tail for sewing. Don’t stuff the piece
Crochet in rounds. The tail consists ot two pieces: two identical side part and one top part

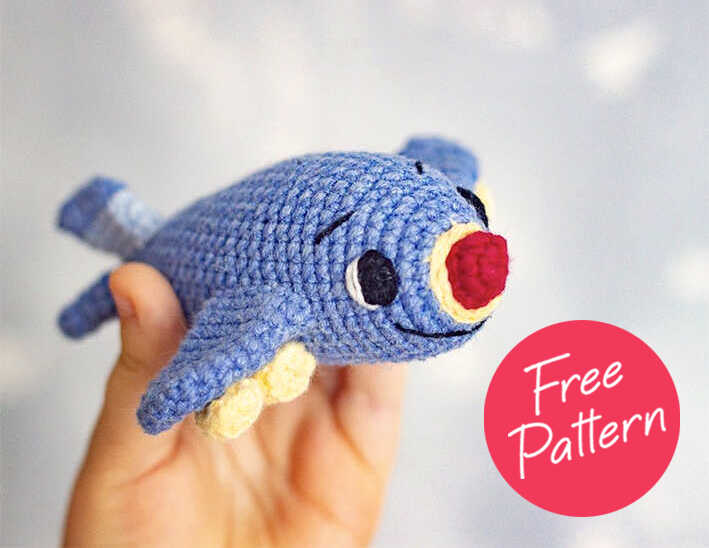
Assembly and details
1. Sew the wings to the airplane body between rounds 7 and 16, having fixed them with pins.
2. Start assembling the tail. Sew the top part of the tail exactly in the middle of the body. Then sew the side parts. Weave in the thread tails inside of the body.
3. Fix the engines on the wings, two pieces on each wing. Sew them. Weave in the thread tails inside. Thank you for visiting our website amigurumireceitas.com.

4. Now let’s make face details for our plane and start with the eyes. You can crochet the eyes using the thin cotton threads of black color or make them cutting circles from black felt, and glue them. The pattern for crocheted eyes: just make 7sc in MR and join with slst in a circle. Use a crochet hook of smaller size (1-1,5 mm).
