
Designer: Carolyne Brodie
Instagram: @sweetoddityart
Hello Amigurumi Lovers…
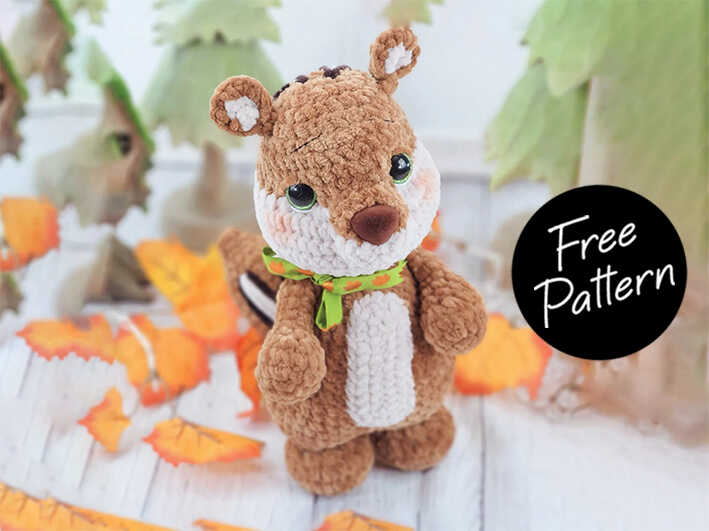
One of the free amigurumi crochet patterns we will share today is the Squirrel Christopher, whose photos and design belong to Sweet Oddity Art. You can learn how to crochet this squirrel using the free amigurumi pattern. Thanks to dear Carolyne Brodie for this cute squirrel.
Materials Needed:
Yarn: Chenille, Weight #6, bulky yarn
Color A: Brown, Color B: Cream, Color C: Dark Brown
Hook Size: F hook or 3.75 mm
21 mm safety eyes, 26 mm safety nose
Scissors, sewing needle, stitch marker, fiberfill stuffing
Abbreviations
MR: Magic ring
Ch: Chain
Sc: Single crochet
Slst: Slip stitch
Inc: Increase
Dec: Decrease
Dc: Double crochet
BLO: Back loops only
FLO: Front loops only
Hdc: Half double crochet
Inc3: 3 sc in the same stitch
Skill Level: Intermediate.
Size: 12 inches from bottom to top of head with weight 6 yarn and a 3.75 mm hook.
Head
Crocheted from top of head to bottom
Starting with Color A:
Ch 6
1. inc in 2nd ch from hook, 3 sc, inc3 in last chain, working on opposite side of chain: 4 sc= 12
For help working on the opposite side of the chain, refer to pg. 18
2. inc x 2, 3 sc, inc x 3, 3 sc, inc= 18
3. (sc, inc) x 2, 3 sc, (sc, inc) x 3, 4 sc, inc= 24
4. (2 sc, inc) x 2, 3 sc, (2 sc, inc) x 3, 5 sc, inc= 30
5. sc in each st around
6. (4 sc, inc) x 6= 36
7-9. sc in each st around
*In round 10, mark the 3rd inc of each set of increases, this is for eye placement*
10. 3 sc, inc x 6, 6 sc, inc x 6, 15 sc= 48
Place eyes between rounds 8 and 9, leaving 10 holes between them. Place them above the
stitch markers. Look to pictures on pg. 4 for reference. If you want the sunken eye look, do not
place the backs of the eyes on until round 15.
Change to Color B:
11-12. sc in each st around
13. 6 sc, dec x 3, 12 sc, dec x 3, 18 sc= 42
14. (sc, dec) x 14= 28
15. (5 sc, dec) x 4= 24
Now for the eyes. Stuff the head well. Cut a long piece of yarn and remove the eyes. Place the
needle in the hole where the first eye was and insert the needle into a hole next to the eye
hole. Go back and forth between each eye hole repeating the process from the first eye. Pull
slightly on the yarn after going through each hole. Do this about 3 times on each side until you
reach the look you want.
To place the backs of the eyes you will need to remove most of the stuffing to place the
washers on the eyes then re stuff it.
16. sc in each st around
17. (2 sc, dec) x 6= 18
Fasten off.
