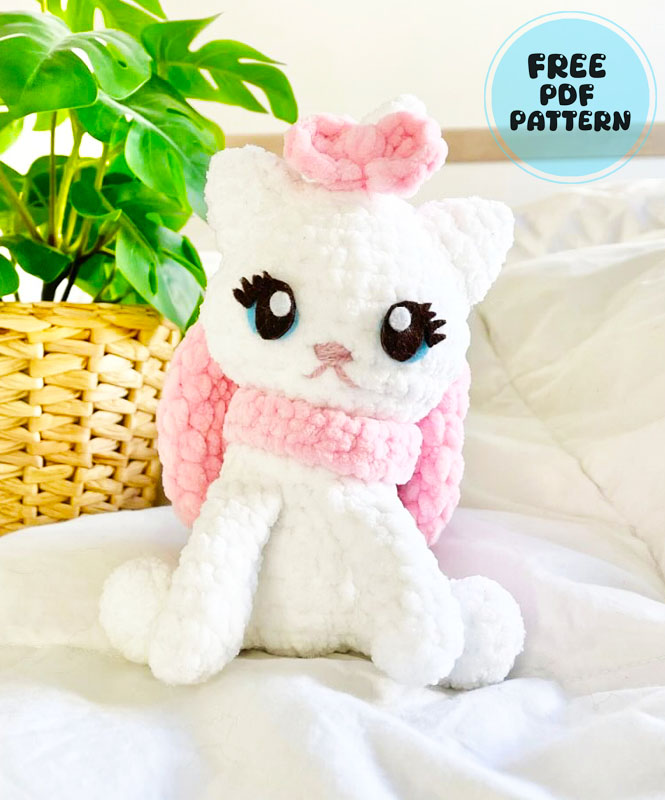
I will introduce you to the cat amigurumi pattern named marie designed by snugglescrochetbyjamie. The cat, made with white and pink plush yarn, has a very soft texture and a very nice facial expression. The designer uses Premier Parfait Chunky brand yarn to make the amigurumi toy. The recommended crochet hook size for the cat is 4.5mm.
Marie the Lady Cat Crochet Pattern Step by Step
You will also learn how to make a cat amigurumi toy using felt to create facial expressions. The toy also has 2 bow ties. One of these bow ties is on its neck and the other is on the top of its head. You will learn how to make these today.
Designer: snugglescrochetbyjamie
Materials
• Yarn (I used Premier Parfait Chunky)
• Main color (white)
• Bow color (pink)
• Hook (I used 4.5mm)
• Yarn needle
• Stuffing
• Stitch marker
• Scissors
• 1 of the following! • Safety eyes
• Sinker eyes
• Felt (glue, pencil and paper for stensil)
Abbreviations
• ch-chain
• slst-slip stitch
• sc-single crochet
• inc-increase
• dec– decrease
• fo-finish off
• dc inc – 2 double crochets in 1 stitch
• hdc – half double crochet

Head
R1 6SC in MR (6)
R2 INC around (12)
R3 (SC, INC) repeat 6 times (18)
R4 SC around (18)
R5 (2SC, INC) repeat 6 times (24)
R6 SC around (24)
R7 (3SC, INC) repeat 6 times (30)
R8 SC around (30)
R9 6SC, 3INC, 12SC, 3INC, 6SC (36)
R10 SC around (36)
R11 7SC, 3DEC, 10SC, 3DEC, 7SC (30)
R12 (3SC, DEC) repeat 6 times (24)
= Attach eyes around R8-9, and beware of where the front of the face is (cheek pockets on both sides).
= Start stuffing. Stretch and shape the fabric so the top of the head is not pointy, especially when using chenille yarn. Make sure you stuff the cheek pockets.
R13 (2SC, DEC) repeat 6 times (18)
F/O, and leave a long tail to sew. Do not close the hole!

Arms (make 2)
R1 5SC in MR (5)
R2 21NC, 3SC (7)
R3 SC around (7)
R4 DEC, 5SC (6)
= Fill the arms as you go.
R5-7 SC around (6) <3 rows>
R8 4SC to align the yarn tail to the side of the arm.
May need to adjust depending on your tension! (6)
R9 3SC through both sides of the round to shut the arm (3)
F/O. No need for a sewing tail
Hair
R1 Surface crochet 4SC in a circle at top of head (4)
R2 SC around (4)
R3 INC around (8)
R4 4SC, 2DEC (6)
R5 DEC around (3)
F/O and leave enough tail to close hole.
